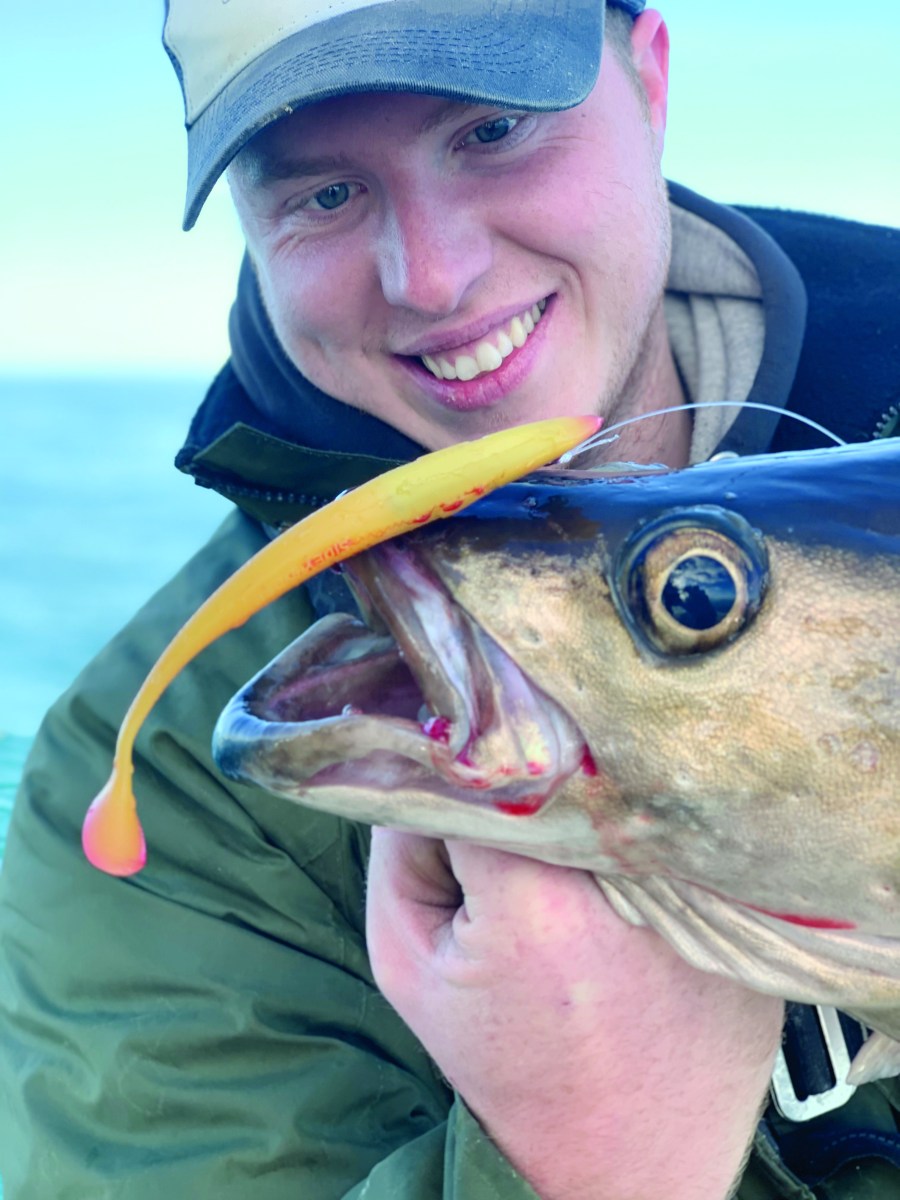
Pollack, cod, coalfish, bass and ling are the more popular species you can target over a wreck when drifting your boat. It’s probably one of the most successful ways of fishing in the UK, but it’s somewhat of an art form. By the end of this article you should have the basic knowledge and, hopefully, the confidence to drift a wreck correctly and set up a drift on a reef. If you’re already confident and have some experience, then maybe you will pick up some extra tips which can make all the difference in your catch rate. You’ll also learn about what rigs and lures to use, as well as the subtle changes you can make to pick off those few extra fish. Everything you’re going to learn here can be used over deep reef features as well as wrecks. So, remember to try this method over deeper reefs too!
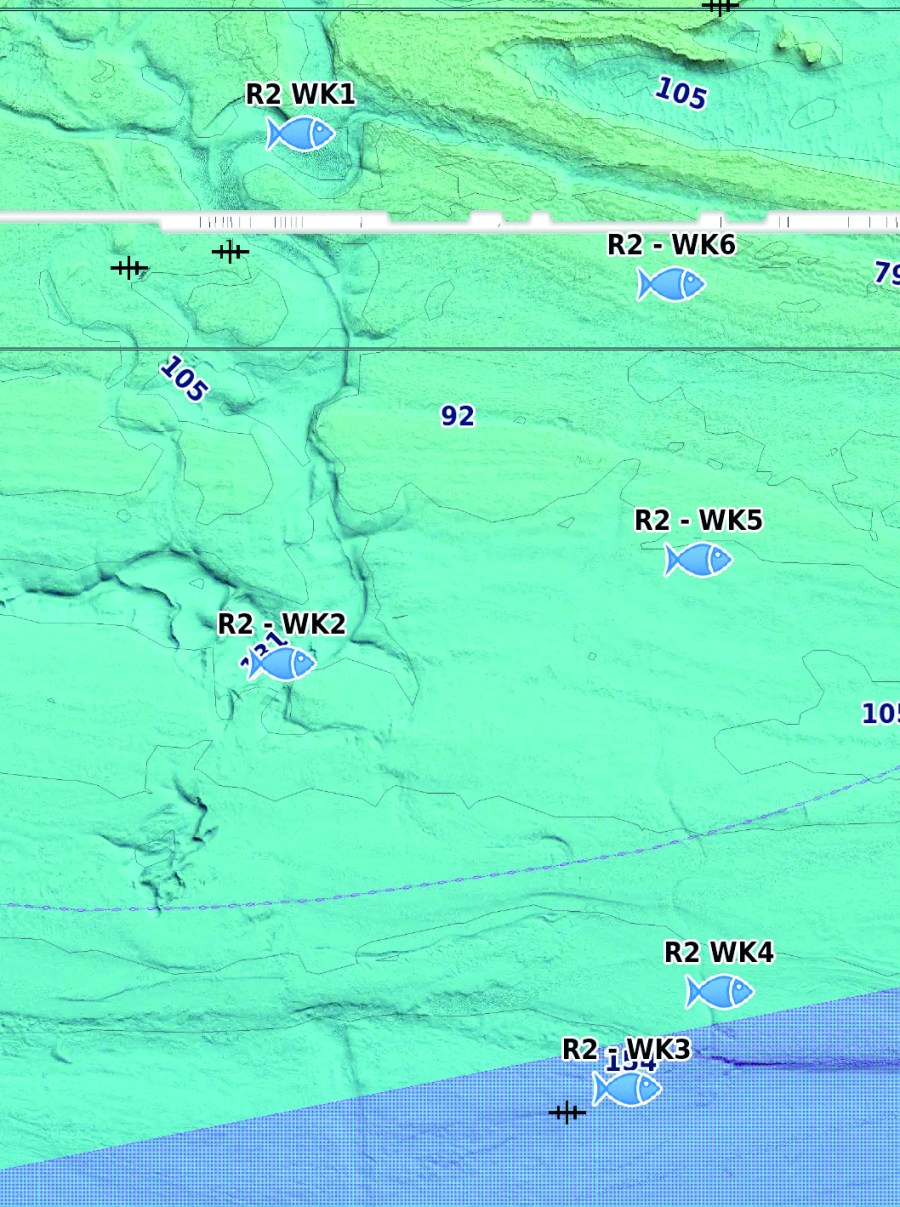
A wreck is typically a sunken vessel on the seabed that can be located on any decent chart plotter. They will be marked with the wreck symbol, and if you have relief shading on your plotter and the area of seabed has been canvassed for this, you will see the wreck as a dark shadow with clear ship-like features, such as the bow and stern. A chart plotter with relief shading is going to be beneficial to setting up your drift and working out which wreck you want to fish. Wrecks can fish well in all types of tides and sea states: springs, neaps, whether they are ebbing or flooding; each will have their preferred tidal conditions and it’s up to the angler to work this out over a period of time. They generally don’t fish well over slack water, so opt for a tidal flow of anywhere between 0.5 knots to 2.2 knots. This will be the time when fish are feeding the most. Before setting out, though, it’s a good idea to create a route map. Pick between five and ten wrecks and number them in the order you wish to try them. This will save both fuel and time on the day. Wrecks sitting with the tide will give you a longer drift over the top, unlike wrecks which sit against or across it. I like to pick both large and small wrecks on my plan. The smaller wrecks often stay untouched for weeks on end as other boats overlook them. I’ve had some great fish over smaller wrecks.
TACKLE
The rod and reel outfit is really a matter of personal preference. You may opt for a multiplier with lever drag, or one with star drag. Personally, I’d avoid fixed spool reels as they offer little leverage and you will become tired after a long day’s wrecking or deep reefing. A standard 15-20lb 7ft boat rod will suffice. Do look for a rod with a subtle tip: anything too heavy and unforgiving will make it harder to keep the tension – especially on fish which will give the rod an ever-changing load as they crash and dive.
SETTING UP THE DRIFT
So, you’ve got your plan and route map ready on your plotter, and you’re at sea, all set up to begin your day. First thing’s first: you need to set up a drift. When we are targeting those pollock, bass and other species over a wreck, you need your boat to drift over the top of the wreck with the tide, not 100 metres away from it. The first drift is what you call a dummy drift. Drive your boat to the side of the wreck from which the tide is pushing. Stop your boat around 100 metres from the wreck. Switch on your track lines on the plotter. Watch your track line and observe where your boat is now drifting. You may go over the wreck first time or most likely you will need to make an adjustment and start again. Once you have marked your first track line, you can now predict where your boat should drift when you stop. Make a note of where you need to place your boat on the next run to ensure the next track line flows over the wreck. Your boat’s drift will change with the variation in tide and wind, so the track line won’t always be what you expect. Things will change throughout the day and you will have to repeat the procedure above to get your boat drifting over the wreck again when the conditions change.

TOP TIPS FOR SETTING A DRIFT
- Never drive over the wreck. When re-setting your drift, give the wreck itself a wide berth to avoid disturbing any fish with the thrum of the engine and movement.
- You can start your drifts either on the bow or stern end of the wreck and work your way along methodically. This can funnel whole shoals along your drift line and lead to more fish.
- It’s not always possible, but if you can work your way inwards, it can really pay dividends.
- When stopping your boat for a drift, don’t stop right next to the wreck. You want to give yourself time to get your lure to the bottom and to work it a few times without dropping it into the wreck immediately.
BOOM ‘N’ SHAD
So now you know how to correctly set up a drift over a wreck, let’s look at the methods that will catch fish. There are a myriad of ways to use lures over wrecks. However, for the sake of simplicity, and the fact that this can be used to high effect, let’s look at the boom and shad set-up. Wreck fishing will always end up in lost tackle and lost lures: it’s an inevitable part of the experience. However, you can implement parts of your set-up to try and minimise tackle loss. I use a braided mainline on the reel of about 50lb breaking strain and find the lowest diameter I can (different brands will have different diameters, even if they are the same strength). Having a lower diameter will decrease the drag in the water column, helping you to get away with lighter leads on the boom. On the days leading up to your trip, you want to make up your booms. I have at least ten prepared for each excursion. The likelihood is you won’t lose many booms and weights with this particular set-up. Do expect to lose a few lures caught in the wreck. The last thing you want is to run out of booms halfway through the session, so make sure you have enough to last. Making “ready to go” booms is a simple affair. Run 50lb fluoro through your boom. On the shorter kinked end, attach a swivel and at the other end a link clip. At the rod end, I have a quick-change clip so that booms can be attached and detached quickly. The weights that I use on the booms vary from 4oz to 16oz, depending on the tide’s strength and water depth. Have a good selection and have enough! The deeper your wreck and the faster the tide, the heavier the weight required to get to the bottom quickly and comfortably. Your aim is to have enough weight to ensure your line holds vertically below the boat, and does not drift away from you, but not too heavy that it’s going to make your arms ache after an hour or so and affect your enjoyment when you hook a big fish!
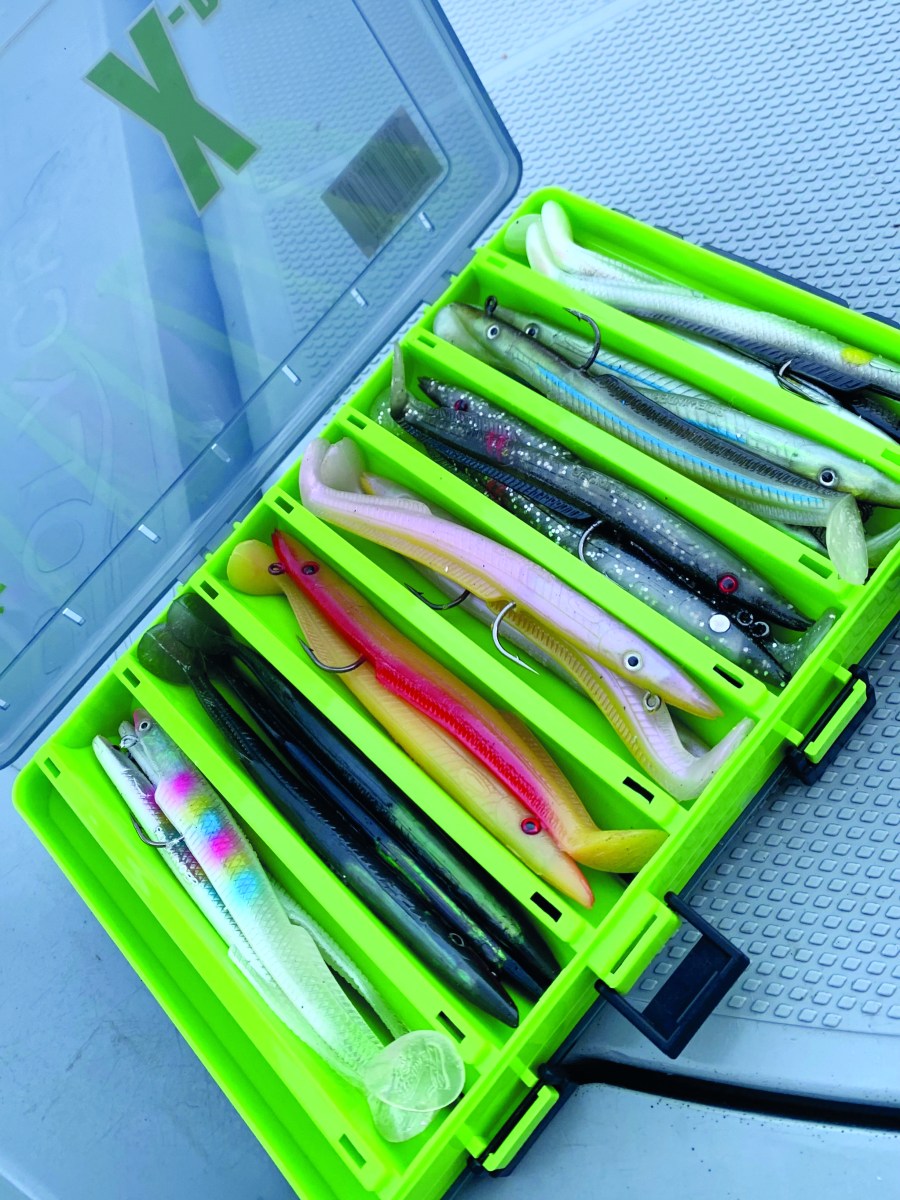
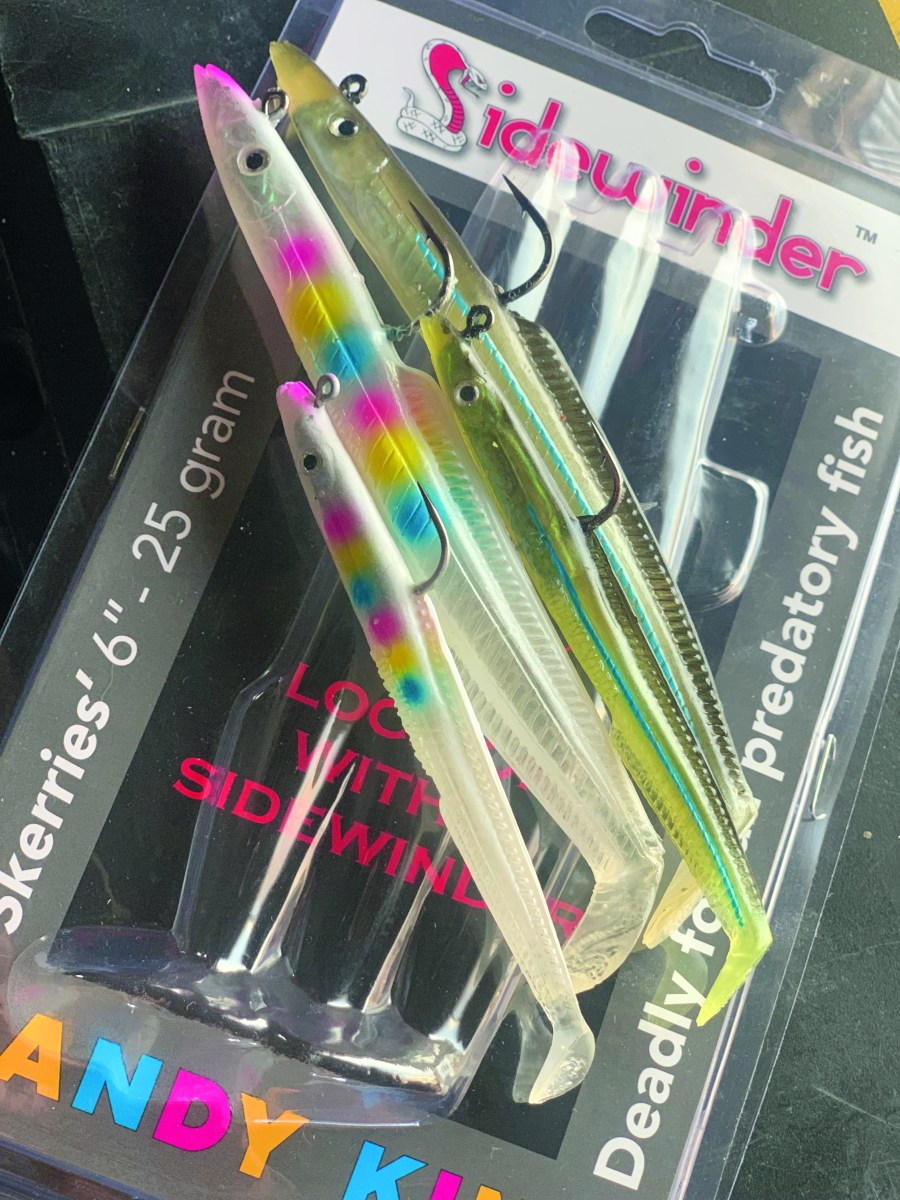
Weights are quickly detachable, so do experiment. Start light and work your way up if needed. For the business end, choose a 30lb fluorocarbon. This is near-invisible in the water and is the best line for the job. By having a lower breaking strain fluorocarbon on your lure end, but a higher main line and higher breaking strain through your boom, you will hopefully lose just the lure if and when you get snagged, and not the whole rig. Choice of lure is down to the angler. However, a Sidewinder Skerries eel or Sandeel in either 4-inch or 6-inch sizes is ideal.
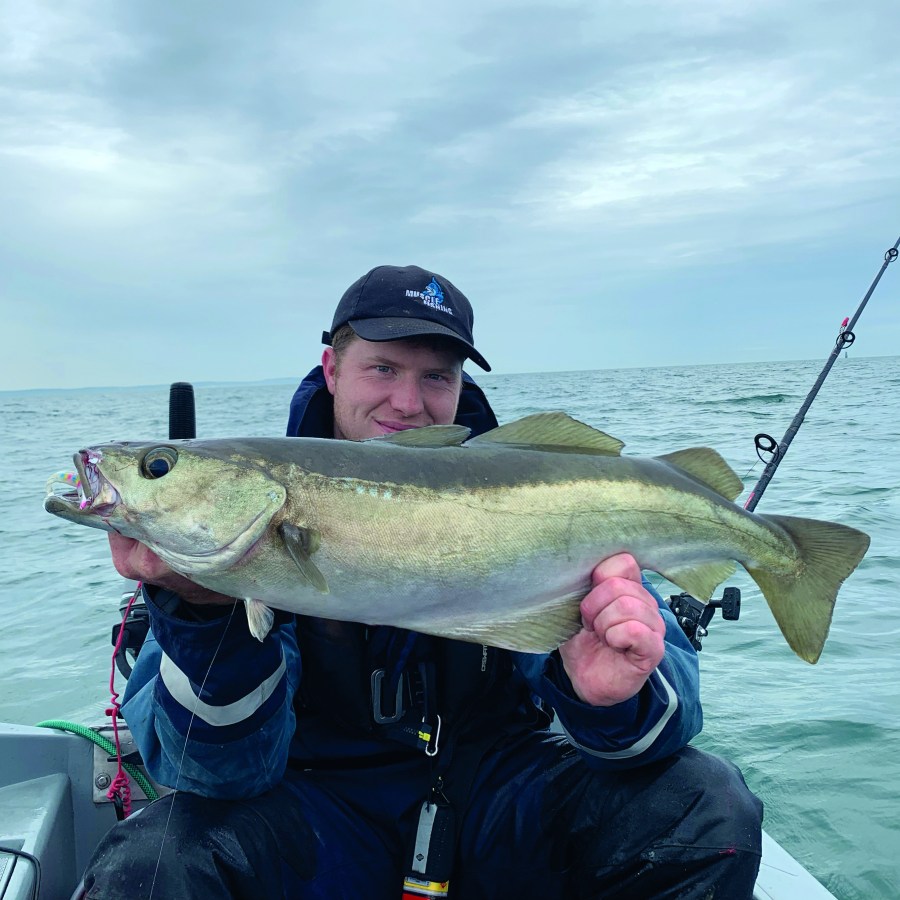
Sidewinder offer a huge selection of colours and patterns, so finding the one that works on the day is a part of the fun. So have a selection of different colours and lengths to hand. I tend to start with a 4-inch and work my way up to the 6-inch if the fish are in a predatory mood and feeding hard. The Candyking 4-inch Skerries eel recently caught me a 12lb 8oz pollock and my dad a 7lb bass. Your fluoro trace is tied on to the long end of your boom to the clip. How long you have your trace length is up to you. Personally, an 8ft trace is my go-to in a strong flowing tide. Others might prefer a trace up to 12 feet, so just experiment. Spring tides and tides above one knot will allow you to have a long trace length like this. A top tip for you, on a neap tide or when a tide is sluggish, when approaching slack water, reduce your trace length to avoid tangling and spinning up the line. When you have under approximately 0.6 knots of tide, drop your trace length to about four feet. This will ensure you are fishing effectively and not getting tangled down below.
PUTTING IT INTO PRACTICE
So, you are now drifting over your wreck like a pro, terminal tackle is set and ready, and your rod is over the side, waiting for action. So how can you convert all this knowledge and preparation into fish?
Before dropping down your set-up, check the gear on your reel. It needs to be tight enough that a fish can’t dive right into the wreck and snag you easily, but also not so much that you pull the lure out of the mouth, or the fish snaps you off on the initial run. It’s a fine line (excuse the pun) and only by experimenting, and accepting that you might lose some decent fish, will you find the exact answer. In any case, it’s best to opt for heavier gear over lighter gear. If you can pull braid off your reel with a reasonable bit of effort, it’s probably about where it needs to be.
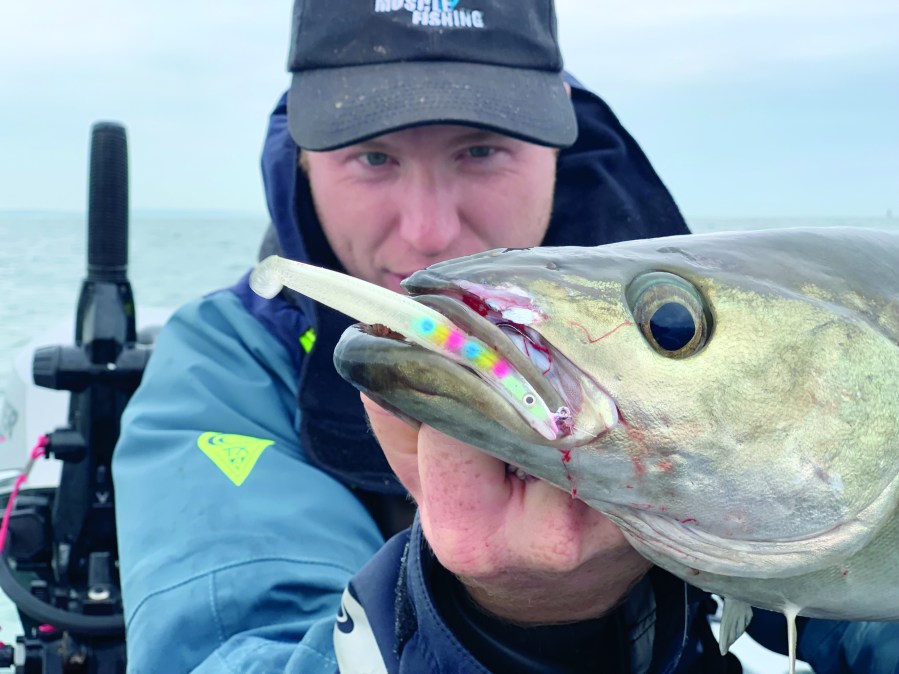
The fishing method itself is rather simple. Drop your weight to the bottom of the seabed, engage your strike lever or take off the free spool and wind up. Wind above your wreck and a bit more – perhaps 20 turns or so – then drop back down again and wind up. Repeat this process. If you watch your sonar, you should see when the wreck approaching on the screen. Now drop your set-up to the bottom and retrieve. When you hit the bottom, be quick to get your first few winds in, otherwise you’re going to be dragged into the wreck and your gear will more than likely snag. Retrieval speeds (how fast or slow you wind) will depend on how the fish are feeling. Sometimes they want it fast and sometimes they want it slow! Experiment on the day, but steady winding speed won’t see you go far wrong. You may well feel fish pecking the lure on your retrieve. There are two main rules to hook up successfully: Don’t strike when you feel a fish taking the lure or attacking it, and don’t change the speed of your retrieve. I will usually carry on winding 10/15 turns after an initial fish enquiry. They can commit soon after. When they commit, and your rod hoops over and line is being taken, hold the rod still and allow it to take the lunges of the fish. There’s not much need to fight against it. When that fish stops taking line, begin winding your reel steadily. You must keep tension on the fish, otherwise they will eject the lure. Sometimes you have to wind more quickly if they are coming up in the water, so keep the tension on. You always want a bend in the rod and a tight line to the water. A steady tension on the rod and continued winding up will give you the best result for landing the fish. When the fish surfaces, keep the tension on your trace by grabbing it, or keeping the rod high in the air and walking back so you can net it.
Hopefully this has given you an insight into how to set up a drift and how you can catch the many fish that reside on the wrecks. It’s an art form drifting a boat over a wreck, as well as the wrecking itself, so do take your time and practise. If you haven’t done much of this type of fishing before, you’ve got a whole new style of fishing to explore, and master!
TOP TIPS:
1. If you are fishing with other anglers, it’s a good idea to all use different lures to determine what type of lure the fish are taking on that particular day. Changing lures takes seconds and it will make your session more productive.
2. If you’re a beginner on a charter boat, make a mental note of the retrieval speed, trace length and lure that are working. And do ask your fellow anglers for advice!
3. When choosing your rod and reel outfit, don’t be afraid to get a rod with a slightly larger lighter tip, as this will absorb the head shakes and runs perfectly.
4. Have your lure box and trace material to hand: if you snag up and lose your lure, you can quickly tie on another and get back down before you, or the skipper, need to re-set the drift.

