Anglers love playing with their tackle, especially terminal rigs, but many get in a right tangle. Here we try to unravel the problems, explaining the basics including the importance of dimensions, what rig bits to use and unravel the jargon…
WHAT IS A TERMINAL RIG?
DON’T laugh, some people don’t know. It’s the tackle on the end of your line that includes hooks, lead weight, swivels, maybe a boom or two and clips.
A rule of terminal tackle construction is that the builder follows proven designs, which prevent it from tangling during fishing. This means the foundation of all rigs is a link for attaching the lead and a clip or swivel to link it to your strong leader that is attached to your mainline. Most successful and popular rig for shore fishing is the mono paternoster, which uses a stiff main rig body line with hooklengths, called snoods, coming off small fixed swivels spaced up the trace.
RIG USE AND STORAGE
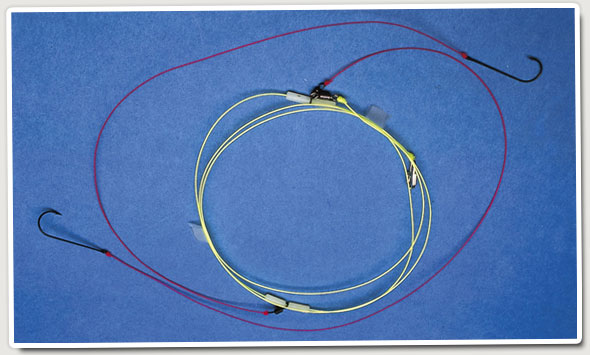
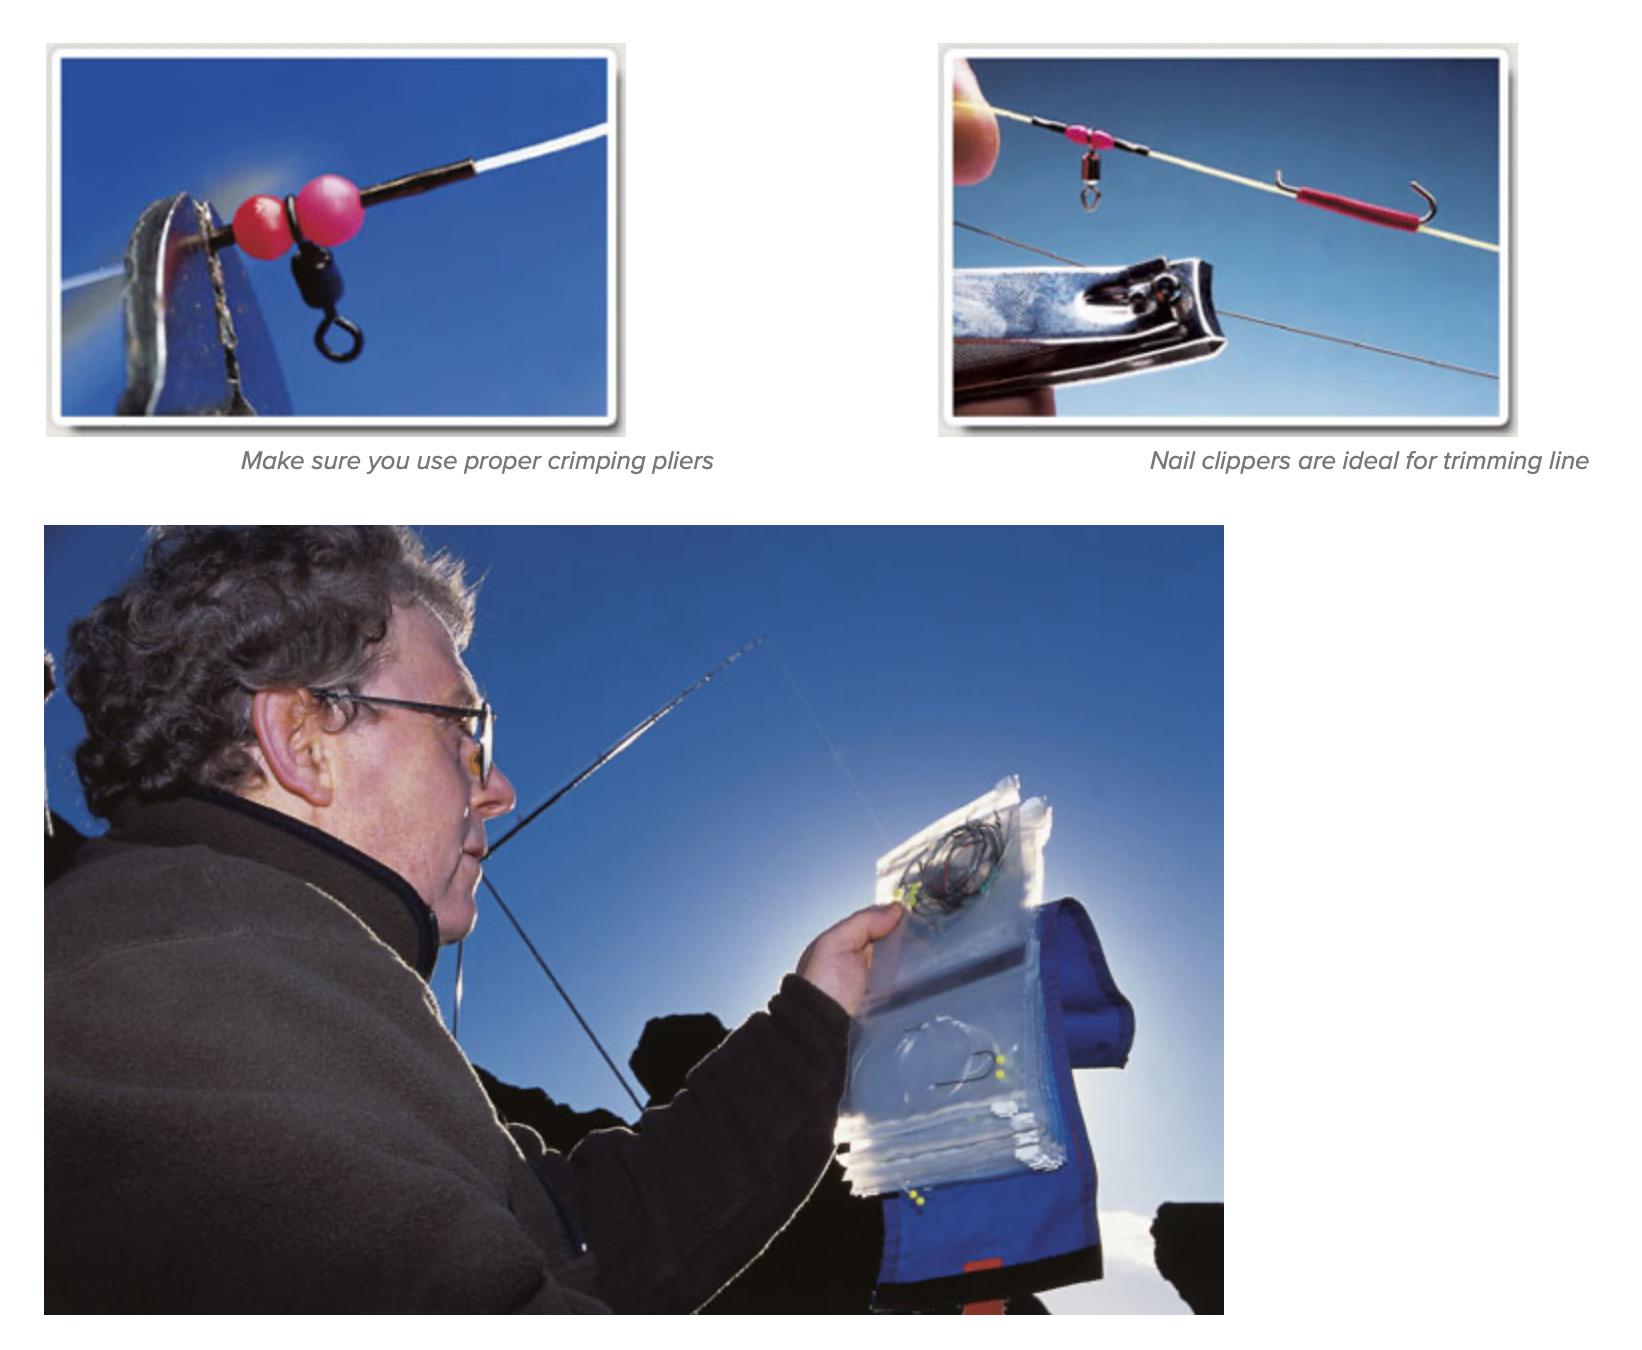
Place your new rig in a labelled bag
DETACHABLE terminal rigs give the shore angler a way to overcome all sorts of problems. If tackle is damaged, tangled or lost it can be replaced in an instant; simply clip on a new rig.
This saves lots of time when the fish are feeding because a spare rig can be ready baited prior to each cast, while the option to change the rig type or size of hooks brings you advantages.
An efficient way to store terminal rigs is in a rig wallet. These come in a range of sizes and designs, some with extra compartments for your terminal accessories, line and rig-making tools.
You can expand the capacity of a rig wallet by storing each individual rig in a sealable plastic bag, which keeps the wallet clean when you return used rig. Coiling the rig, using your hand as a guide, is a popular way to store it in a rig bag, although it is likely to tangle unless removed with care. Wrapping a rig around some card can reduce tangles.
Mark your rig bags with the content, such as rig type, number of hooks and their size. Some anglers use different coloured beads on the snood line of certain rigs for identification.
MAKE YOUR OWN RIGS?
MAKING your own rigs is a valuable skill because of the options it brings.
However, the combined dimensions of all rigs are crucial to performance in that hooklengths are not allowed to overlap each other or the top and bottom links. Failure to remember this will result in serious tangles and lost fishing time.
The beginner may need to copy a few shop tied rigs to get the basic rules and construction ideas. Knots may be his first problem although learning to tie the Grinner knot allows you to construct any rig.
COMPONENTS AND TERMINOLOGY
Rig bodyline: This forms the spine of the rig and must be strong enough to take the immense strain of the lead being cast. It is usual to continue the breaking strain of the casting shockleader through to the terminal rig. In all cases shockleader and rig body breaking strain is determined by multiplying each ounce of the lead weight by 10 (for example, 5oz lead = 50lb leader and main rig line, 6oz lead = 60 leader and rig line.
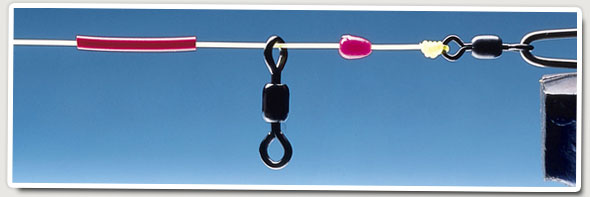
The spine of the rig is called the body
Hooklength (snood): This is the length of line that attaches the hook to the rig body. It must be strong enough to cope with the abrasive nature of the seabed, plus small fish spinning it up.
Most commonly used lines are 15lb for estuary fishing, 20lb for summer sport, 25lb for winter and 30lb if big fish are likely or you fish rough ground.
Swivels: A large 60-80lb breaking strain swivel can be used at the top of the rig. For attaching the hooklength 45lb swivels are placed on the rig bodyline and trapped in position between two beads and two crimps. Several shapes of snood swivel are available including the purpose made round eye/diamond eye.
Crimps: These are soft metal sleeves that slide onto the rig bodyline to hold the hooklength swivels and beads in position. They are squeezed with crimping plies so they stay in position.
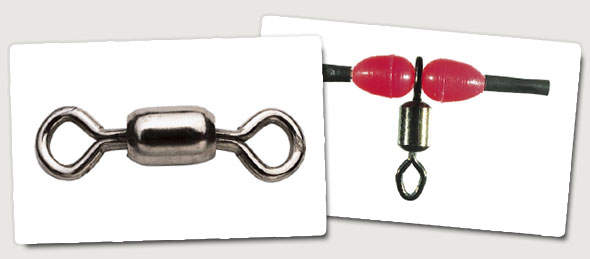
A large swivel for the top of the rig (left) and crimps and beads (right)
Micro beads: The small beads used to buffer the swivel between crimps on the rig bodyline. Larger coloured beads are often used on hook snoods to attract fish to the bait.
Stop knot and sequin: A sliding stop knot made from mono or Power Gum used instead of crimp, or as a stop to keep bait in position on hook snood. A small sequin or coloured bead is used on the hook snood above the bait stop to hold the bait in position.
Bait clip: Clip that holds baited hook close to rig body to streamline it during your cast.
Flapper: This describes a rig without bait clips. The snoods are said to flap when being cast.
Bottom clip: A clip or link to attach the lead weight to the bottom of the rig.
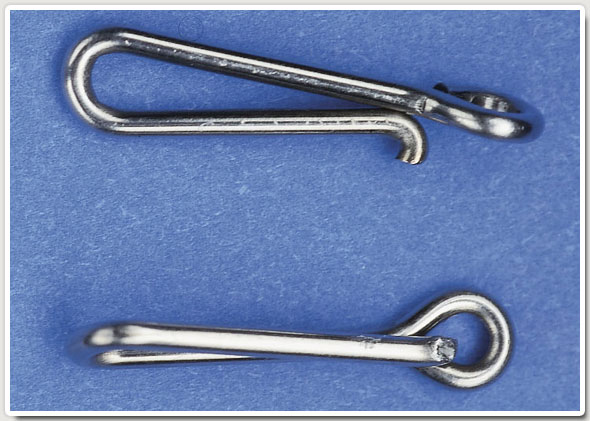
Lead link
Clip down: This is a rig with bait clips that improve aerodynamics of rig when you cast.
Snood clips: Small clips used to attach hook snoods to a rig
CONSTRUCTION
The mono paternoster is a simple tangle-free design and over the years it has become the most popular and practical means of presenting hookbaits cast from the shore.
There are many variations and most relate to the number of hooks used. Simplest is the one hook mono paternoster and this is the most basic of the rig designs, popular for fishing over rough ground and for casting maximum range.
One hook means less chance of catching a snag and less resistance to casting. Multi-hook rigs using two or a maximum of three hooks are used for clean ground and in most cases for smaller fish.
Bait clips are popular to temporarily attach the hook baits close to the bodyline of the rig during casting. Breakaway’s Cascade swivels and an Impact lead are the most efficient means of doing this.
Variations of the mono paternoster include using a hook snood that is positioned near the lead weight so that the bait hangs below the lead, described as ‘one down’. Therefore it follows that two hooks ‘up’ involves a paternoster rig with two hooks hanging above the lead and ‘one up, one down’ relates to one hook above and one below the lead.
A rig’s overall length is restricted by the distance between the rod tip and the lead, in most cases six feet is around the maximum.
Long rigs are required for multi hooks or long snoods and are popular for surf fishing, while short stubby rigs are often preferred for fishing close in from deep-water venues, such as piers or breakwaters.
You will need several tools to construct terminal rigs with a pair of large nail clippers ideal for snipping mono lines close to knots. Crimping pliers ensure that crimps are closed and not crushed too tightly and damaging the rig mainline, a point to remember when using ordinary pliers.
A hook puller is a safer way of pulling knots tight; avoid putting hooks near your mouth to tighten knots. It’s Russian roulette, sooner or later you will get a bite!
